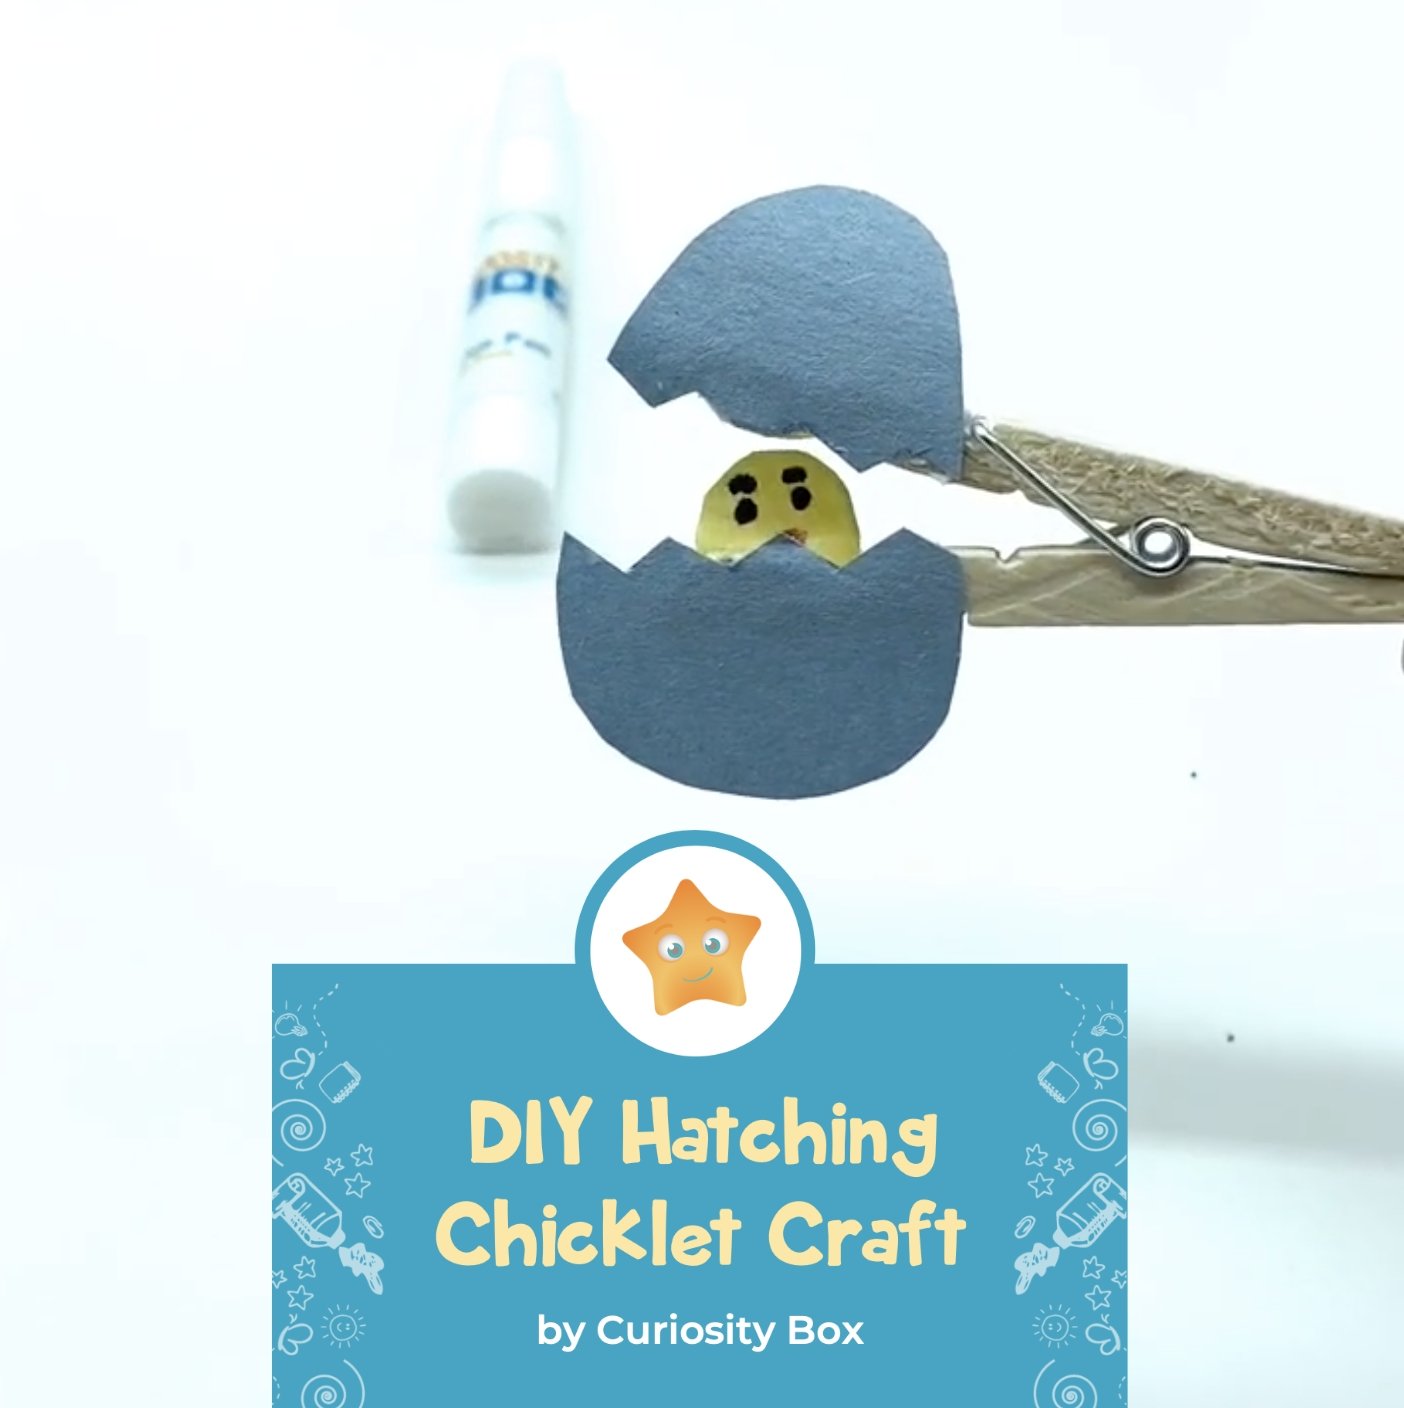
Easter has lots of fun colours, cute animals and so much more. Why not combine all these things and make a fun craft with the kids?! This clothespin craft is adorable and easy to make! Kids will have so much fun opening and closing the close pin and seeing the baby chick appear each time.
Use simple items that you can find lying around the house or are available at the craft store. Feel free to customize this craft as you like. You can choose any colour for the egg or baby chick and decorate the close pin as well. Now grab your kids and your supplies and let’s get crafting!
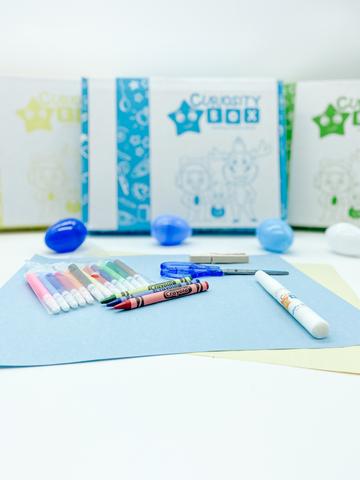
Here are the materials you will need:
- Clothespin
- 2 colours of paper (one for the egg and one for the baby chick). We used yellow and blue
- Construction paper
- Markers or crayons
- Scissors
- Glue
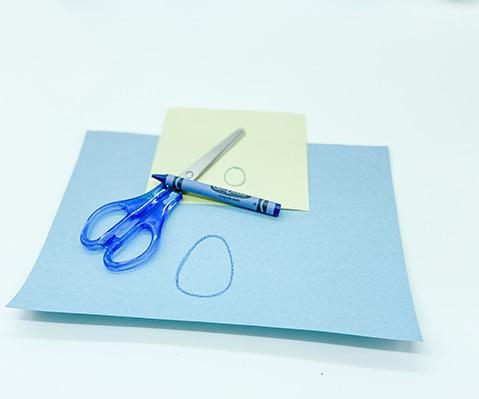
First start off by drawing a large egg shape on one of your cloured pages. In your other colour of paper, draw a smaller circle shape. Cut them both out.
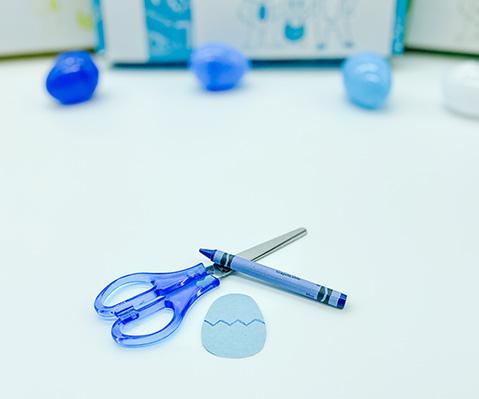
Next, draw a zigzag line in the middle of the large egg you cut out in the previous step. After you draw the line, carefully cut the egg in half following your line.
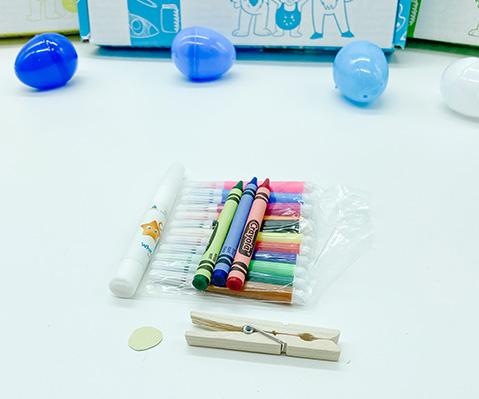
Grab your markers of crayons to decorate your baby chick. We drew eyes and a nose on ours. You’re then going to pinch open your clothespin and glue your baby chick to one side of the clothespin. Make sure you only glue the baby chick on the bottom part of the clothespin.
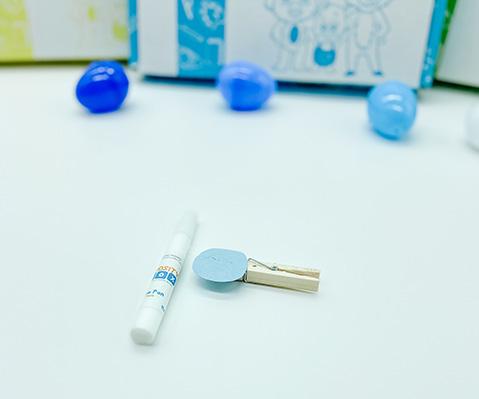
Lastly, you’re going to glue the egg onto your clothespin. Glue it on the other side from where you glued your baby chick. Glue one part of the egg on the top of the clothespin and then the other part on the bottom. You should be able to pinch the clothespin and see the baby chick appear from behind the egg.
That’s all you have to do – easy as that! I hope you had fun watching your baby chick hatch!
Follow us for more DIY crafts, recipes and more. Happy crafting!

